
Amazon S3 Static Website Hosting: Hands-On | A Step-by-Step Guide
Step-by-Step Guide to Enable Static Website Hosting in Amazon S3

Experienced Technical developer with 6+ years' global collaboration.
Proficient in Python, Go, React, Next.js, Django, various databases, Cloud & DevOps (AWS EC2, Docker, Kubernetes), and Big Data tools.
Skilled in data structures and algorithm, API development, and end-to-end software engineering.
Excels in back-end development, front-end design, Root Cause Analysis, and product management to deliver superior user experiences.
Holds a master’s degree in computer engineering.
Step 1: Navigate to Amazon S3 console
Open your web browser and go to the AWS Management Console at https://console.aws.amazon.com/.
Sign in to your AWS account using your credentials.
Once logged in, locate and click on "S3" under the "Storage" category. This will open the Amazon S3 console.
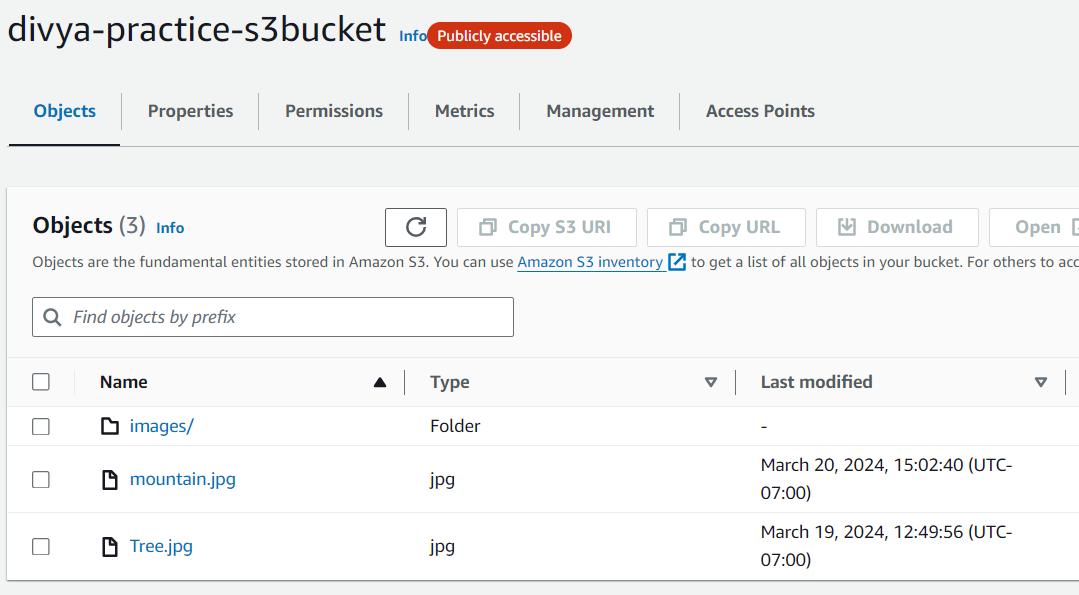
Step 2: Create S3 Bucket and upload Images
Ensure you have created your S3 bucket. If not, follow the steps outlined in the "AWS S3 Console Hands-On | A Step-by-Step Guide" tutorial available at: S3 Console Hands-On | A Step-by-Step Guide
Step 3: Upload Additional Files
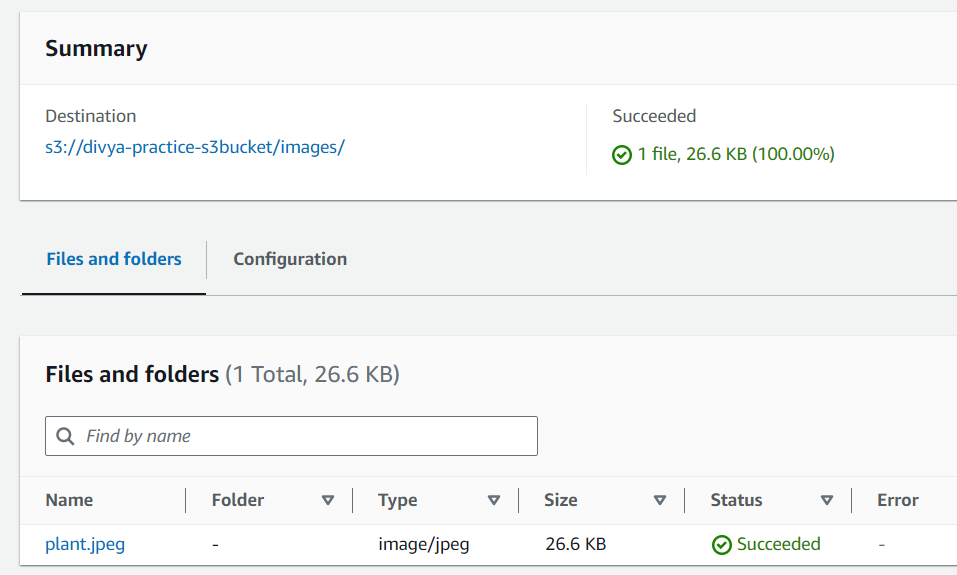
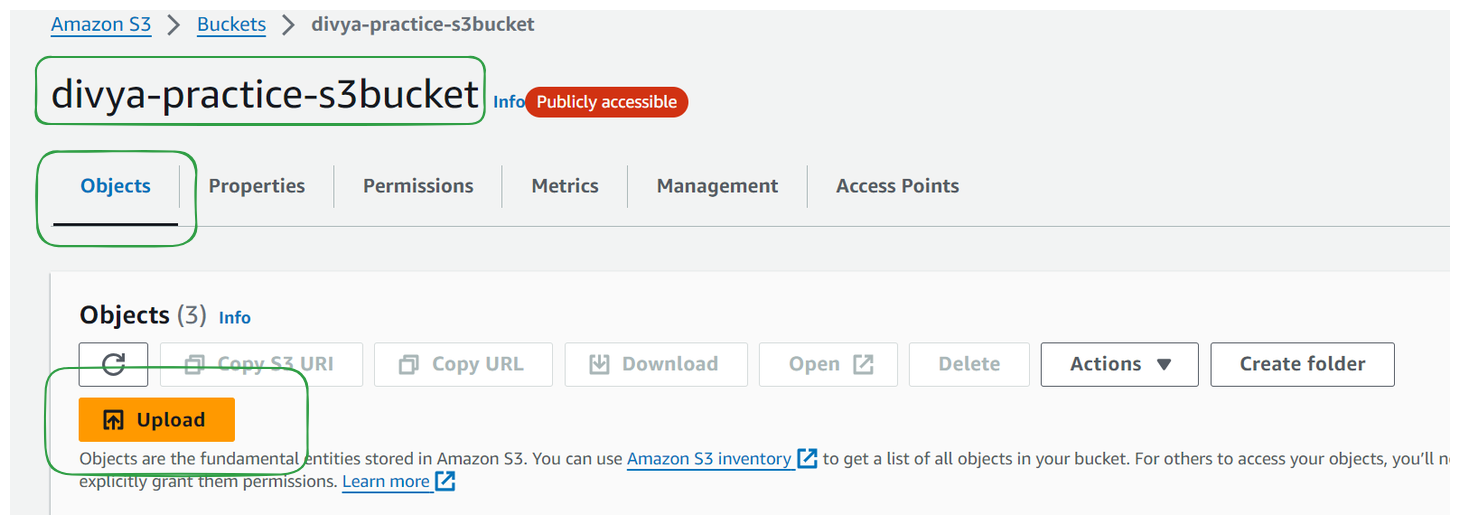
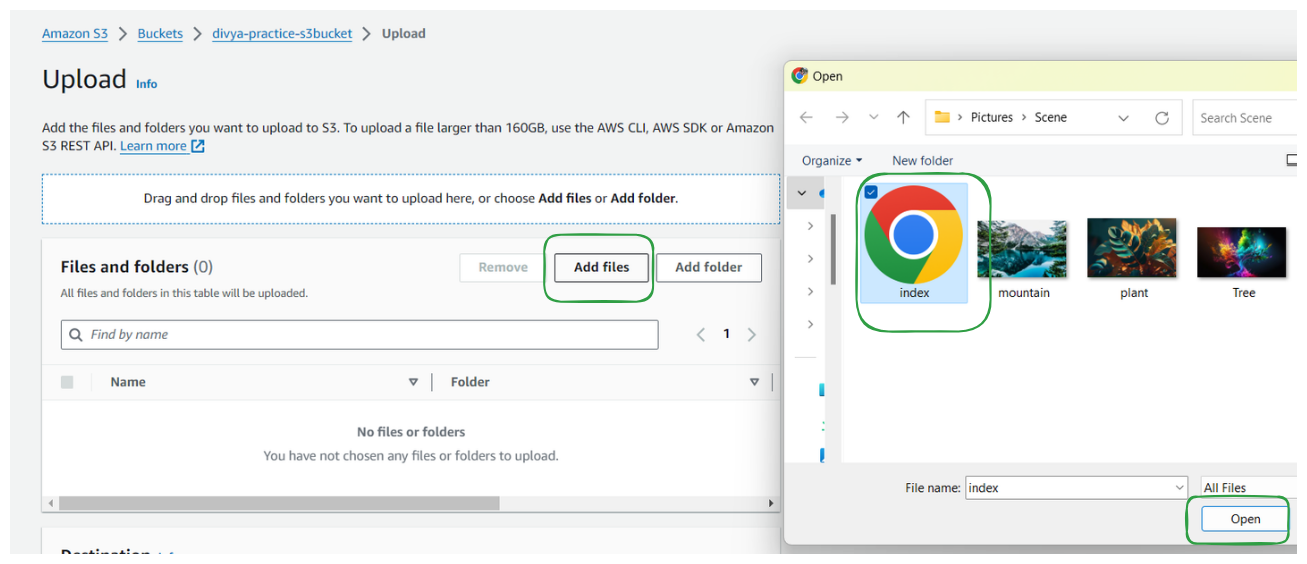
Navigate to your S3 bucket and click on the "Upload" button.
Select the file you want to upload (e.g., plant.jpg) and confirm the upload.
You can follow follow the steps outlined in the "AWS S3 Console Hands-On | A Step-by-Step Guide until Step 4. Create Folder in the Bucket and upload objects
Step 2. Allow public access to files
To allow public access to files follow along a step-by-step instructions for creating a bucket policy in Amazon S3
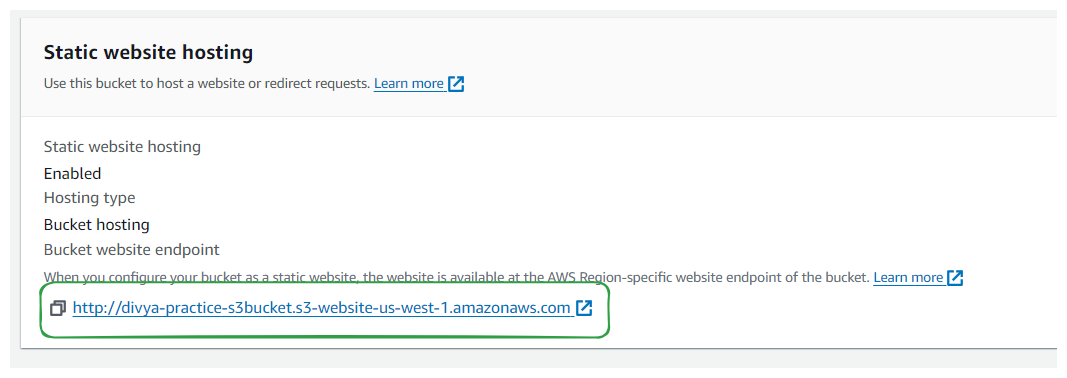
Step 3: Enable Static Website Hosting
Scroll down to the "Properties" section of your bucket.
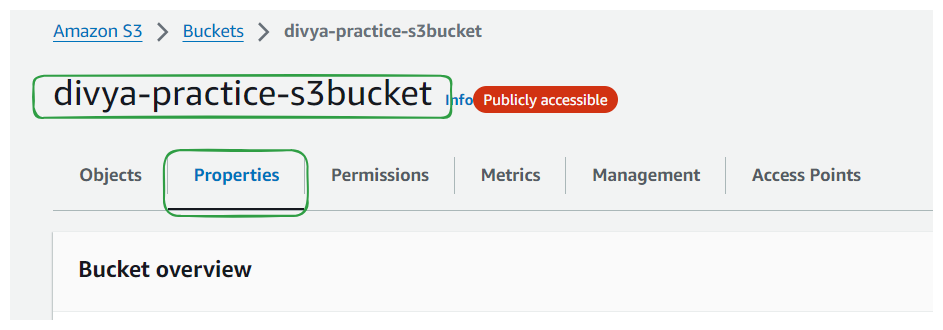
Find and click on "Static website hosting."
Click on "Edit" and enable static website hosting.

Specify the index document (e.g., index.html) as the default or homepage of the website.
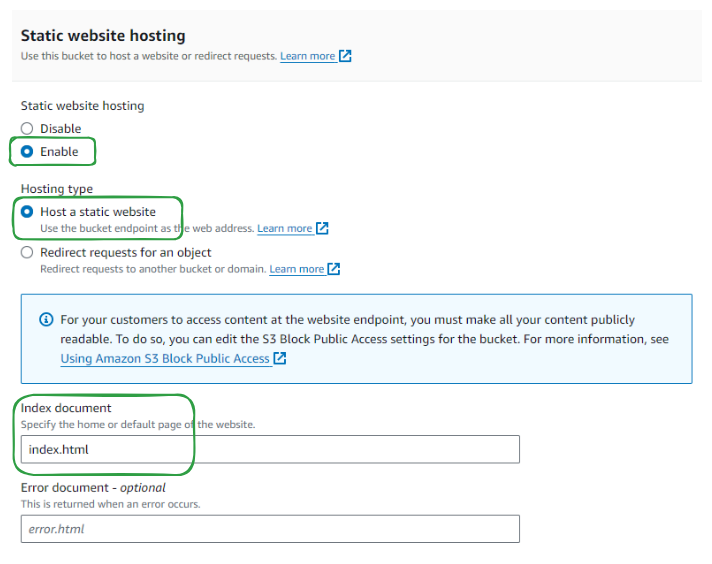
Save the changes.
Step 4: Create Index.html
To create an index.html file with the provided content, you can follow these steps:
Open a text editor (such as Notepad, Sublime Text, Visual Studio Code, etc.).
Copy the HTML code provided.
Paste the HTML code into the text editor.
Save the file with the name "index.html".
Here's the content you need to save in the "index.html" file:
<!DOCTYPE html>
<html lang="en">
<head>
  <meta charset="UTF-8">
  <meta name="viewport" content="width=device-width, initial-scale=1.0">
  <title>S3 Website</title>
  <style>
    body {
      margin: 0;
      padding: 0;
      font-family: 'Segoe UI', Tahoma, Geneva, Verdana, sans-serif;
      background-color: #f5f5f5;
    }
    .container {
      max-width: 700px;
      margin: 100px auto;
      text-align: center;
      display: flex;
      justify-content: space-between;
    }
    .column {
      flex: 1;
      margin: 0 10px;
    }
    .image {
      border-radius: 5px;
      margin-bottom: 20px;
      box-shadow: 0px 4px 8px rgba(0, 0, 0, 0.1);
      width: 100%;
    }
    h3 {
      font-size: 24px;
      margin-bottom: 10px;
      color: #333;
    }
    p {
      font-size: 18px;
      color: #555;
      line-height: 1.6;
    }
  </style>
</head>
<body>
  <div class="container">
    <div class="column">
      <h3>from current directory src="mountain.jpg" </h3>
      <img class="image" src="mountain.jpg" alt="Mountain from current directory">
    </div>
    <div class="column">
      <h3>from current directory's images folder src="./images/plant.jpeg"</h3>
      <img class="image" src="./images/plant.jpeg" alt="Plant from current directory's images folder">
    </div>
    <div class="column">
      <h3>from web</h3>
      <img class="image" src="https://t4.ftcdn.net/jpg/05/61/14/81/360_F_561148117_gtEwt3nIjA2cy5OA1cJbBnT5cyv45FAH.jpg" alt="Image from web">
    </div>
  </div>
</body>
</html>
Once you've saved this content into a file named "index.html", you can open it in a web browser to see the result.
Step 5: Upload Index HTML File
Go back to the "Objects" section of your bucket.
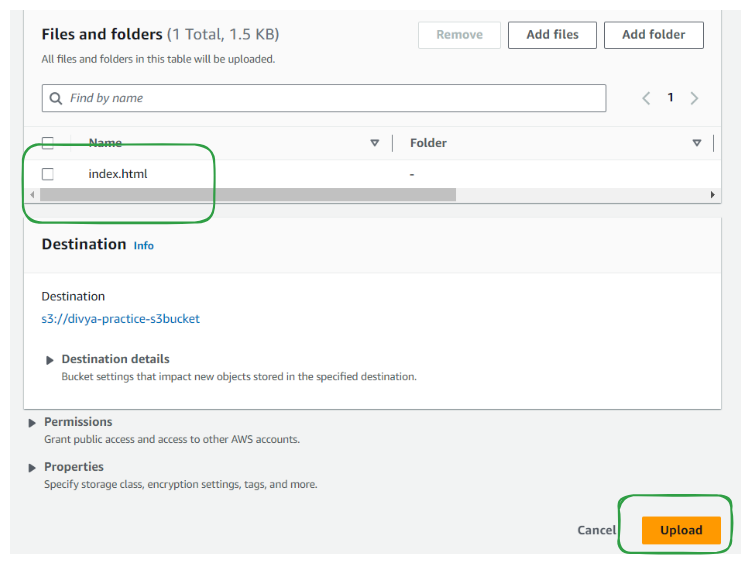
Click on the "Upload" button again.
Select the index.html file and confirm the upload.
Step 6: Retrieve Website Endpoint
Scroll down to the "Properties" section again and find the "Static website hosting" option.
Copy the bucket website endpoint URL provided.
Step 7: Test Website
Paste the bucket website endpoint URL into your browser's address bar and navigate to it.
Verify that the website loads correctly, displaying the index.html content and any other files (e.g., images) uploaded to the bucket.

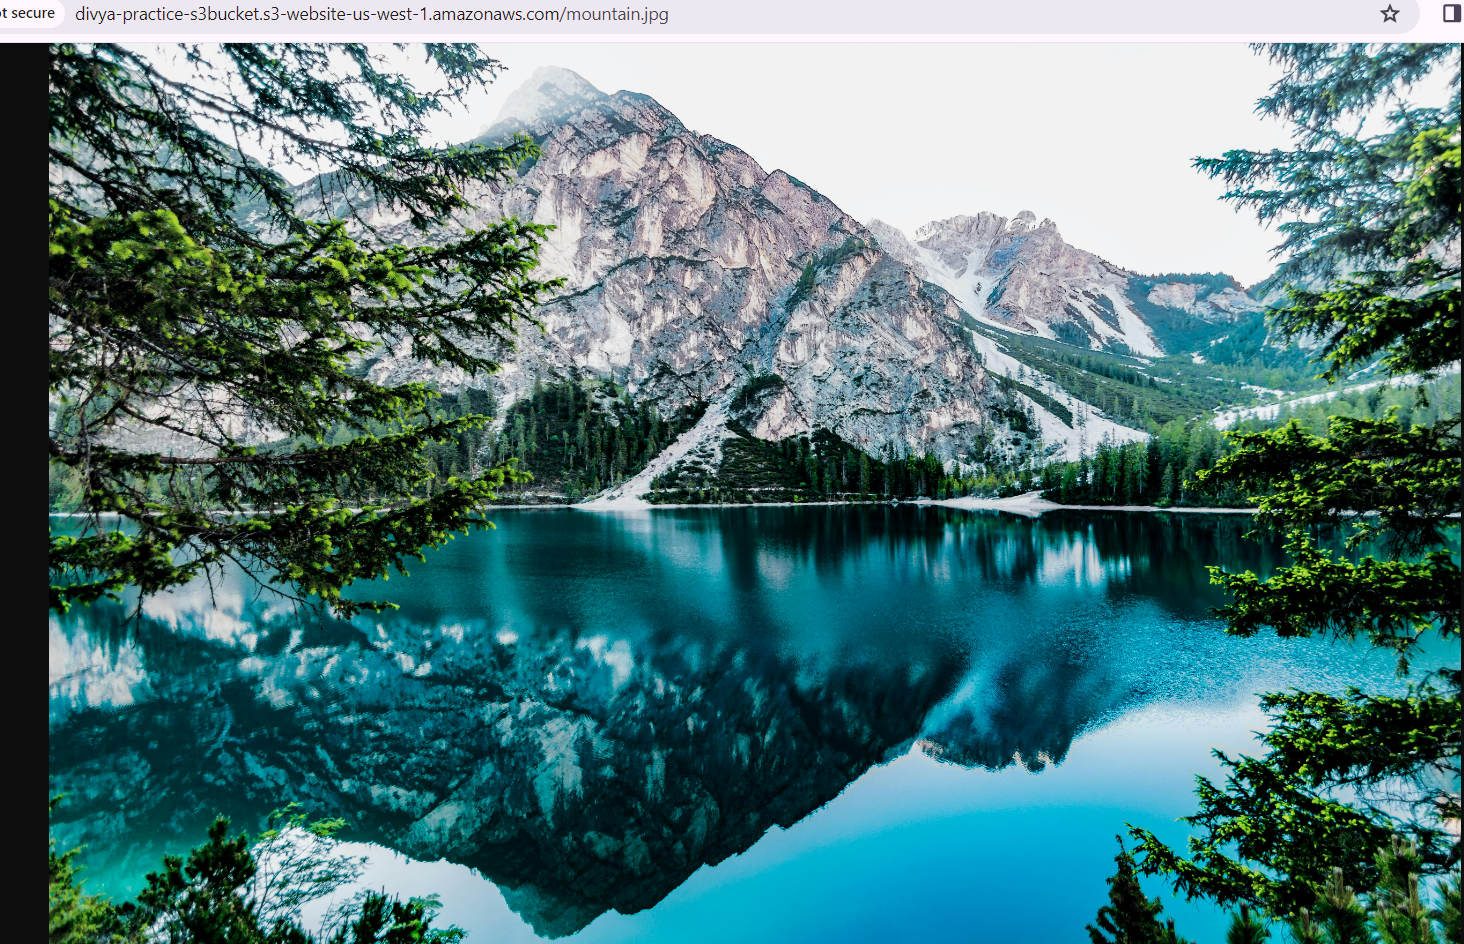
Step 8: Optional - Verify Image URLs
Right-click on any image displayed on the website (e.g., plant.jpg or mountain.jpg) and select "Open image in new tab."
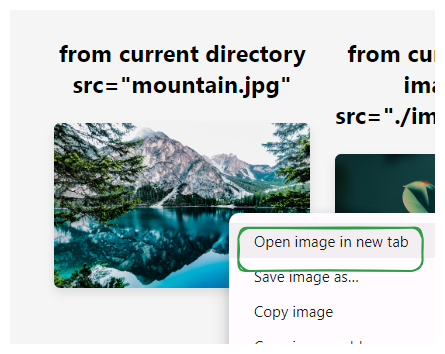
Verify that the public URL for the image is accessible and displays the image correctly.
Conclusion
Confirm that your S3 bucket is successfully enabled for static website hosting and that all files are publicly accessible due to the bucket's public policy.
Your website hosted on Amazon S3 is now operational and ready for use.


